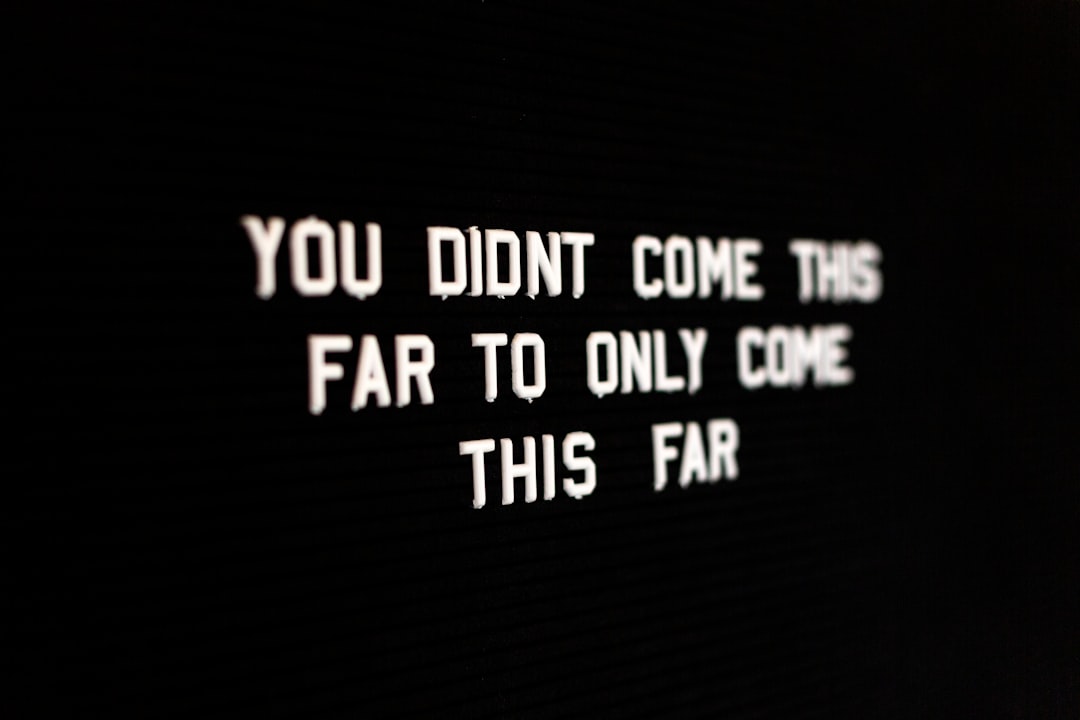
Start with warmth: solve the 'flat print' problem
If you sell, buy, or design quote posters, you know the frustration: a beautiful sentence looks lifeless on a flat white sheet. Customers want designs that feel handmade, tactile, and gift-worthy — not generic. This guide shows how to translate the visual and emotional language of tapestries into printed quote art using tapestry textures, faux-weave backgrounds, and tactile finishes. You’ll get practical, production-ready techniques to make prints that feel like something you could sing to.
Why tapestry textures matter in 2026
After the screen-saturated 2020s, late 2025 and early 2026 have seen a renewed appetite for tactile goods. Shoppers are choosing items that convey handmade aesthetic and warmth — a reaction against mass-produced minimalism. Textile-inspired prints answer that call: they read as intimate, curated, and giftable. Designers and small brands that layer surface effects and material choices now convert better and command higher price points.
Song of the maker: inspiration from tapestry artists
"I'm constantly singing to my tapestries." — an artist from A View From the Easel
That line captures the tactile intimacy we want to emulate. Tapestries are rhythmic: yarn density, weave direction, and hand-stitched irregularities create a visual tempo. Translating that into print is not about copying fibers pixel-for-pixel — it’s about recreating the rhythm, warmth, and perceived texture so a viewer feels the handmade quality before touching the paper.
Key design language: how textiles talk visually
Before diving into tools, adopt a textile-first vocabulary for your layout decisions:
- Weave rhythm: repetition and subtle offset create movement; replicate with crosshatch or staggered pattern tiles.
- Yarn irregularity: introduce subtle noise and fiber streaks; avoid perfect uniformity.
- Surface depth: simulate shadows and light on raised threads through micro-embossing or drop-shadows tuned for print.
- Natural color drift: lean into muted, warm palettes inspired by natural dyes — raw umber, indigo, ochre, moss green.
- Edge treatment: consider fringed, deckled, or stitched borders to suggest handmade finishes.
Creating faux-weave backgrounds: step-by-step
These are practical options you can use in Photoshop, Affinity Photo, Procreate, or vector tools like Illustrator. Use a high-resolution workflow (300 DPI minimum at final print size).
1. Start with a fiber base
- Scan or photograph real textiles at high resolution (400–600 DPI). Use diffuse daylight to avoid specular highlights.
- Desaturate lightly and layer as a subtle texture layer. Set blend mode to Multiply or Overlay at 8–30% opacity so the paper grain subtly reads through.
2. Build a woven pattern
- Create a small repeating tile (e.g., 120–300 px) with alternating horizontal and vertical bands to emulate warp and weft. Vector tools make seamless tiles easy.
- Add micro-variation: jitter the bands by a few pixels on some repeats, or modulate band widths to mimic hand tension differences.
- Export the tile and apply as a pattern layer across the artwork at low opacity. Use a subtle Gaussian blur (0.5–1 px at 300 DPI) to remove harsh pixel edges that read digital.
3. Introduce yarn streaks and slubs
Use brushes or scanned slub textures to add faint streaks — these are the little lumps and irregularities in yarn that sell the handmade look. Place these on multiply layers and vary opacity across the composition so they don’t compete with the type.
4. Simulate shadow and depth
For a subtle raised-weave illusion, duplicate your pattern, rasterize, and apply a very soft drop shadow (1–3 px with 5–10% opacity at 300 DPI), offset by 1–2 px. Reduce contrast so the impression reads as texture rather than a cast shadow.
5. Color and distress
Apply color with soft, desaturated fills rather than bright tints. Add a low-opacity noise layer (1–3% monochrome) to break uniform expanses. Use masking to add subtle wear at the edges and within large color fields — this is the 'lived-in' look that evokes textiles.
Typography that sings with the weave
The right type choices and treatments make a quote feel woven into the design instead of pasted on. Treat type as material.
Typeface selection
- Prefer warm, tactile-friendly fonts: humanist serifs, slab serifs, or hand-drawn scripts. Fonts with slightly irregular strokes read handmade.
- For letterpress or deboss finishes, choose type with open counters and sturdy shapes — very fine hairlines can disappear under impression.
- Use display scripts sparingly. If the quote is long, pair a readable serif or humanist sans with a small script accent for emphasis.
Typesetting tips for tactile printing
- Increase leading for breathable layouts. Dense copy fights the texture.
- Kerning: opt for slightly looser tracking (+10 to +30) for modern handmade feels; tighten for classic letterpress blocky looks.
- Distress subtly: apply a low-opacity paper-texture mask to the type layer so letters pick up flecks from the simulated fibers.
- Ornamentation: mimic embroidered accents with dashed stroke lines or tiny motifs that echo stitching.
Surface effects and finishing options (what to choose and when)
Finishes transform visual texture into real touch. Choose finishes to match the emotional target and budget.
Letterpress / Deboss
Why: Deep impression, rich tactile shadow; evokes archival craft.
- Best on 100% cotton or heavy textured papers (300–450 gsm).
- Great for headlines or signature lines, less ideal for long small body copy.
- Design tip: convert type to vectors and add a small counter relief to preserve counters during impression.
Embossing / 3D Digital Emboss
Why: Adds raised areas that feel like stitched or woven ribs.
- Can be combined with spot varnish to highlight raised bands.
- Request a sample proof: digital embossing varies widely between vendors.
Flocking
Why: Soft, velvety texture that reads as fabric.
- Excellent for small areas like monograms or motifs.
- Avoid heavy flock across entire large fields — cost and durability considerations.
Spot varnish & raised UV coatings
Why: Add sheen and dimension; use as micro-highlights to mimic glossy yarn catches.
- Create a separate spot color plate named (e.g., "SPOT_VARNISH") in your file.
- Balance shine with matte substrates to preserve warmth.
Soft-touch (velvet) lamination and textured varnishes
Why: Gives a tactile, warm-to-the-hand finish across the whole piece; great for premium quote prints.
- Pairs well with muted inks and letterpress accents.
- Ask for adhesion ratings if mailing internationally — some soft-touch finishes are sensitive to scuffing.
Material choices that sell the weave
Substrate is the single biggest factor in perceived warmth.
- 100% cotton rag paper (300–450 gsm): deep impression for letterpress, soft hand, archival.
- Linen or laid papers: natural linear texture similar to woven cloth.
- Canvas (matte, lightly textured): for larger quote posters that read like wall hangings.
- Recycled fiber stocks and hemp: growing in popularity in 2025–2026 for eco-conscious buyers.
Production-ready file checklist
Give your printer everything they need. Below is a checklist that will cut back-and-forth proofs and protect final results.
- Final size and bleed: set bleed to 3–5 mm (1/8") beyond trim.
- High resolution: raster elements at 300 DPI at final size; avoid upscaling.
- Color: agree CMYK vs Pantone (spot colors). For spot varnish or foil, add a named spot color layer.
- Layers: keep varnish/deboss/foil as separate layers and mark them clearly.
- Vector text: convert to outlines only after approval to avoid font issues.
- PDF standard: ask your vendor if they prefer PDF/X-1a or PDF/X-4. Use transparency flattening only if required.
- Proofs: always request a physical proof for tactile finishes. Soft proofs cannot show texture.
Mini case study: turning a handwoven stripe into a quote poster
Process summary — a repeatable template you can use:
- Inspiration: photograph a handwoven scarf in natural light at 600 DPI.
- Base layer: desaturate and use as a low-opacity Multiply layer over a warm cream paper color.
- Weave tile: create a 200 px vector tile with alternating bands; add jitter to half the repeats.
- Typography: choose a slab serif for the quote, increase tracking by 18, set leading to 1.6x font size.
- Finish: plan letterpress for the quote line, soft-touch lamination across the poster, and a small flocked emblem.
- Production: supply rasterized PDF with a spot color named SPOT_FLOCK and request a hard proof for the flocked emblem.
Mini case study: using generative tools to craft textile motifs (2025–2026 workflow)
Generative AI and pattern tools are mainstream in 2026. Use them as a creative starting point — not a final deliverable.
- Prompt for a seam-like, hand-woven motif with keywords: "slub yarn, natural dyes, indigo, ochre, coarse weave, subtle irregularities".
- Generate multiple variations; favor ones with clear, tileable edges.
- Vectorize the result in Illustrator or use a trace tool, then simplify to a clean repeat tile.
- Humanize: introduce manual imperfections and scanned fiber overlays to avoid an overly mechanical look.
Packaging, presentation, and shipping — protect the tactile promise
A textured poster that arrives scuffed or flattened won’t delight. In 2026, customers expect sustainable presentation that still feels premium.
- Use rigid mailers or archival tubes for letterpress pieces. Include interleaving tissue paper to prevent abrasion.
- Offer optional gift packaging: kraft box with cotton-wrapped tissue, a small card explaining the textile inspiration enhances perceived value.
- Label finishes clearly in the product description (e.g., "Soft-touch laminated, letterpress headline, flocked emblem") so buyers know what to expect.
Trends and future predictions for 2026+
Expect these directions to shape textile-inspired quote art through 2026 and beyond:
- Tactile commerce grows: shoppers are willing to pay more for finishes they can physically feel.
- Localized micro-production: brands will increasingly partner with nearby letterpress and finishing studios to shorten lead times and reduce shipping carbon footprint.
- Hybrid digital-physical design workflows: AI-assisted pattern creation paired with analog finishing (letterpress, flocking) will become a standard creative pipeline.
- Sustainable surfaces: recycled cotton and hemp papers will replace some coated stocks as consumer values shift toward circularity.
Quick troubleshooting: fix common problems
- Impression too shallow on letterpress: try thicker cotton stock (350+ gsm) and reduce type thinness; consult the press operator about blanket durometer and impression depth.
- Flocked emblem looks patchy: request a flock density test and increase glue coverage; reduce flocked area if coverage fails.
- Pattern appears pixelated: regenerate tile at higher resolution or vectorize; avoid scaling raster tiles above 100%.
- Spot varnish edges halo: expand the varnish plate slightly or ask printer for trapping settings; varnish can slightly misregister on textured stocks.
Actionable takeaways — your tactile design checklist
- Create or scan a fiber base to anchor your composition in real texture.
- Build a repeat with micro-variation to mimic hand tension.
- Choose paper first; pick finish to complement it (letterpress needs cotton; flocking needs adhesive-friendly surfaces).
- Prepare separate layers for spot varnish, emboss, and foil in your final file.
- Always request a physical proof for tactile finishes.
- Describe finishes and materials clearly in product pages to set buyer expectations and reduce returns.
Closing note: design with the voice of the loom
Designing textile-inspired quote art is an act of translation. Borrow the loom’s rhythm, the maker’s slight irregularities, and the warmth of natural dye palettes. Whether you’re producing small-batch letterpress editions or high-volume soft-touch posters, these techniques help your quotes feel like gifts someone would want to hold, display, and pass on.
Ready to add handmade warmth to your prints?
Start with a single tactile element — a linen paper, a soft-touch finish, or a letterpress headline — and iterate. If you want help turning a quote into a textile-inspired poster, try our free texture swatch pack and production checklist at quotation.shop. Order a tactile sample set or request a design consult to see how your quote sings in woven form.
Related Reading
- Micro‑Fulfilment, Showrooms & Digital Trust: Scaling Modest Fashion Commerce in 2026
- Hands-On Review: LED Gem Lightbox Pro — Field Test for Photographers & Sellers (2026)
- Hands‑On Review: Portable Quantum Metadata Ingest (PQMI) — OCR, Metadata & Field Pipelines (2026)
- Micro‑Events Playbook for Indie Gift Retailers in 2026: From Night Markets to Book‑Club Partnerships
- Digital PR + Social Search: A Unified Discoverability Playbook for Creators
- Is a 50 mph Scooter the Future of Urban Commuting? Infrastructure, Insurance, and Policy Changes Coming
- Collector's Alert: Timing Your Booster Box Purchases — Market Signals, Restock Alerts, and When to Buy
- From Comic Panels to Bedtime: Using Graphic Novel Techniques to Tell Family Stories
- From Paris to the World: The New Playbook for French Film Exporters
- Finding Affordable Housing Near French Universities: Lessons from $1.8M Listings